
Daniel Manning
Turn teaching ideas into interactive resources
Discover vibe-coding and designing with Figma
How to build and refine an interactive teaching resource with Figma Make, then present it with Figma Slides
Figma Make turns a plain-language description into a working interactive app, and you do not need to know Figma's design tools or write code. This activity walks through a complete first run: getting Figma Education access with your RMIT email, creating a Make file, building an interactive quiz widget from one prompt, refining a single element by pointing at it instead of describing it, checking your AI credits, and finally making a short presentation with Figma Slides AI. Everything shown was captured from a real run, so what you see is what you should expect, though Figma changes its interface and your results will differ.
Part 1: Get Figma Education access
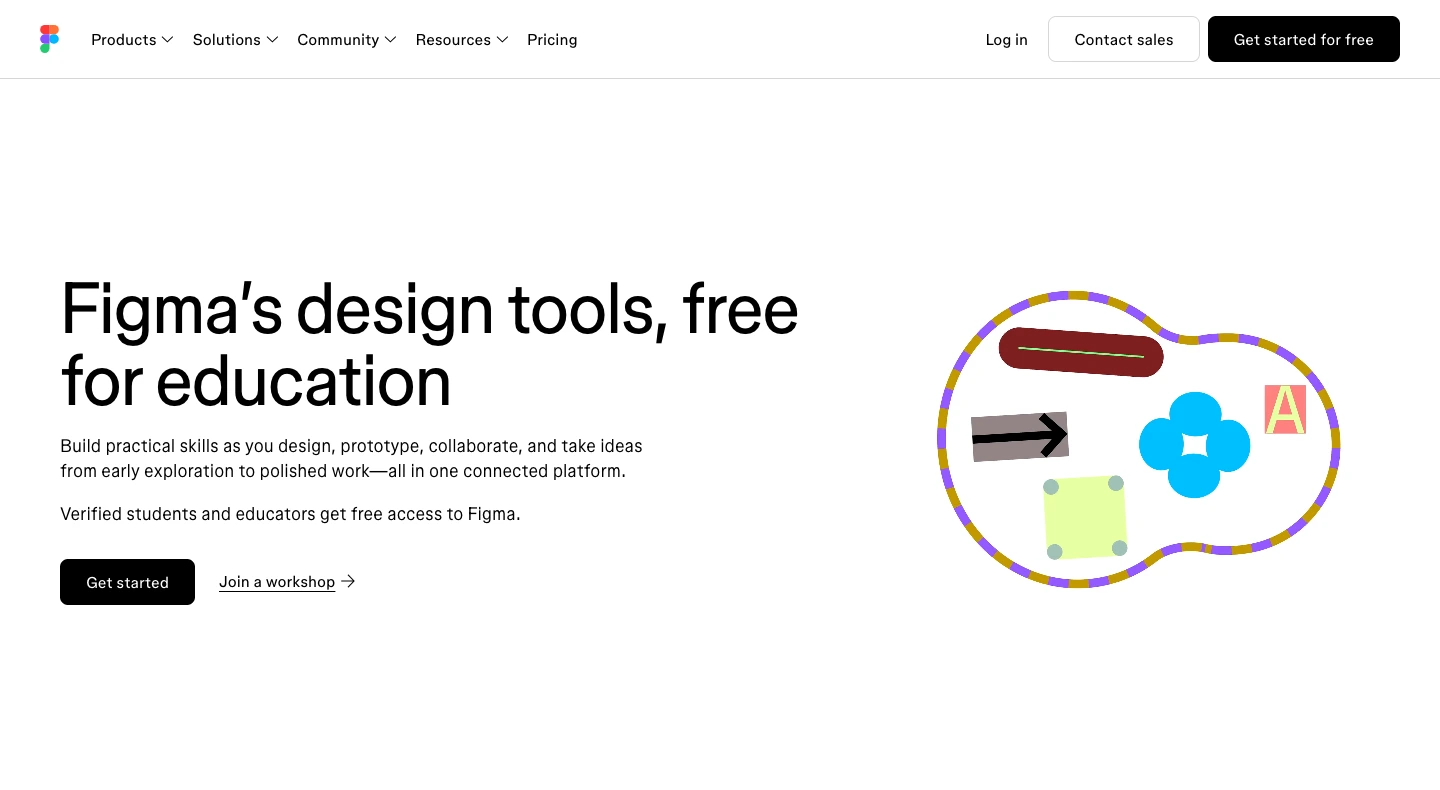
1. Start on the Education page. Go to figma.com/education and choose 'Get started'. Education access is for eligible current students and educators, not every staff role.
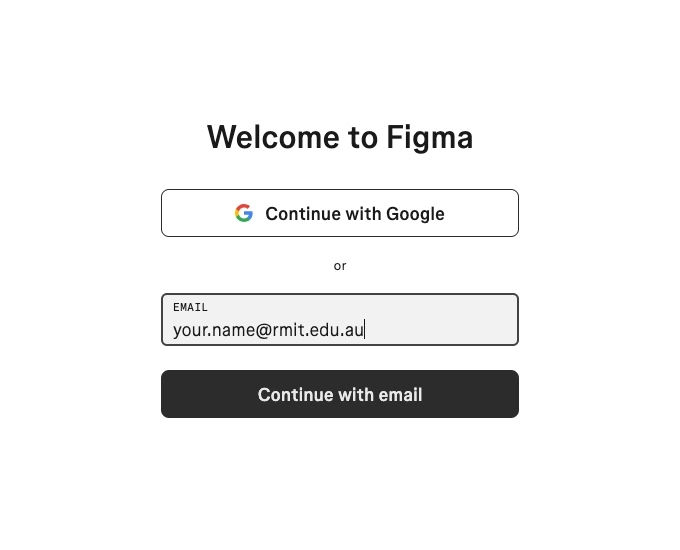
2. Use your RMIT email. Enter your own university-issued RMIT email address and choose 'Continue with email'. The address shown below is an example only and nothing was submitted. If you already have a Figma account, sign in with the account you want to verify.
3. Finish signup and check your inbox. Follow Figma's account setup and email verification prompts. Use your own details and keep your password and verification codes private. Email verification is not the same as Education approval.
4. Verify your Higher Ed status. While signed in, open figma.com/education/apply, choose 'Higher Ed', review the terms, and complete the SheerID form with your real institution and details. An RMIT email alone does not guarantee approval, and non-teaching staff roles are not eligible under Figma's published criteria. Verification can take time, so avoid resubmitting repeatedly.
5. Continue after approval. Create or join an Education team and keep using the same account you verified. Education includes Make and a monthly allowance of AI credits.
Part 2: Create your first Make file
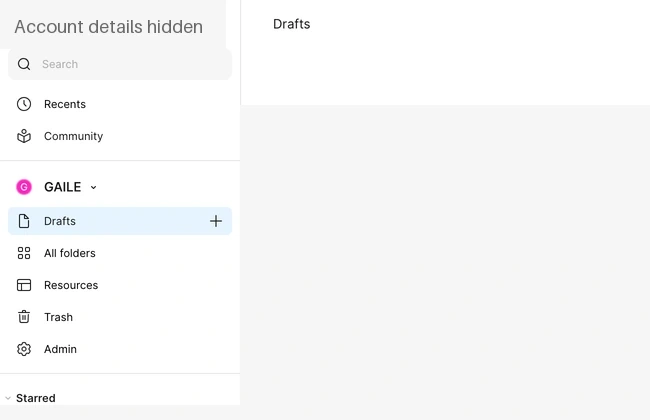
6. Open Drafts. In Figma's file browser, choose 'Drafts' in the left sidebar. Drafts is your place to experiment and your existing files do not need to change.
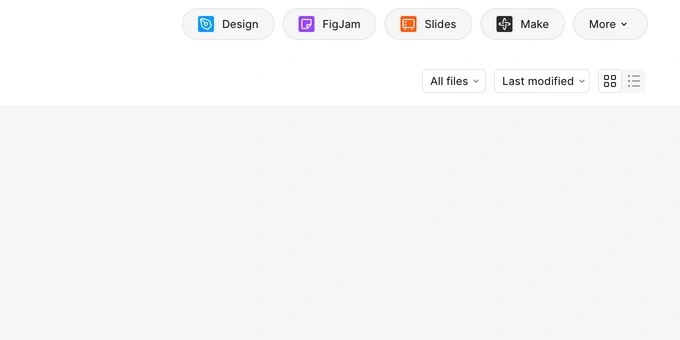
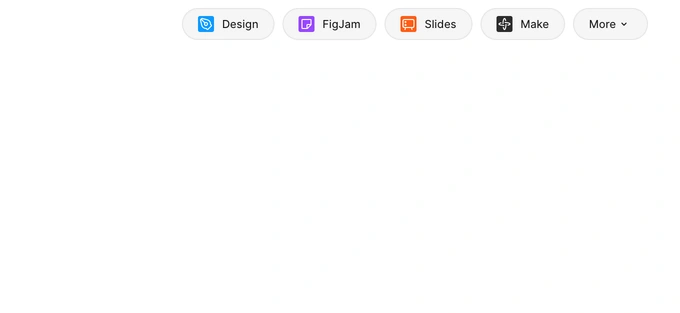
7. Choose Make, not Design. Select 'Make' at the top right, next to Design, FigJam and Slides. Make is the prompt-to-app tool, while Design opens a different kind of file.
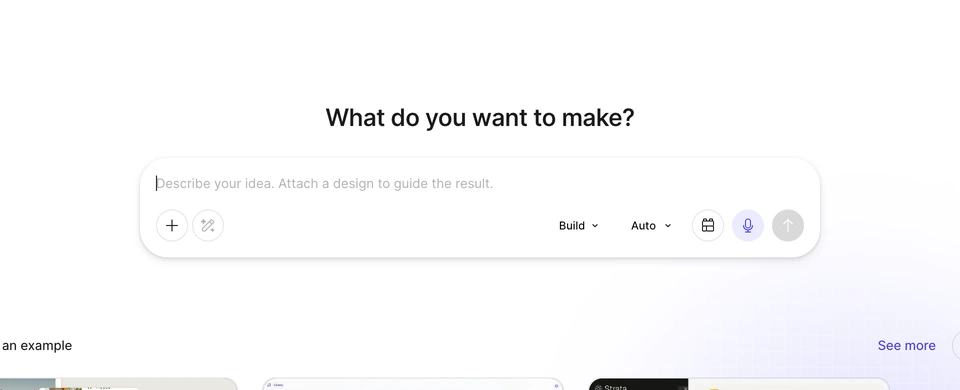
8. Find the prompt box. A new Make file opens with 'What do you want to make?' and an empty prompt box. Nothing is built until you send a prompt.
Part 3: Build your first app
9. Describe your idea in plain words. Click the prompt box and describe what you want as you would to a colleague. Say what it does, who it is for, and how it should feel.
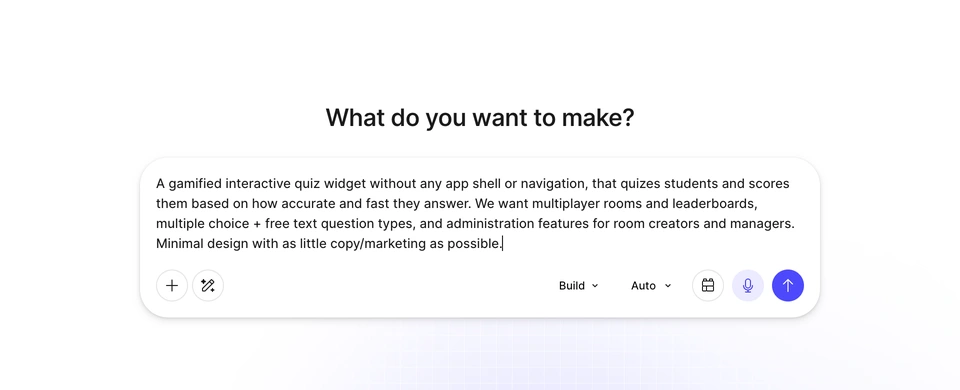
The prompt used in this activity is below.
A gamified interactive quiz widget without any app shell or navigation, that quizes students and scores them based on how accurate and fast they answer. We want multiplayer rooms and leaderboards, multiple choice + free text question types, and administration features for room creators and managers. Minimal design with as little copy/marketing as possible.10. Send the prompt and watch it build. Select the round arrow at the bottom right of the prompt box. Make names the file from your prompt and shows a 'Building your idea' placeholder while it works. Each prompt uses AI credits.
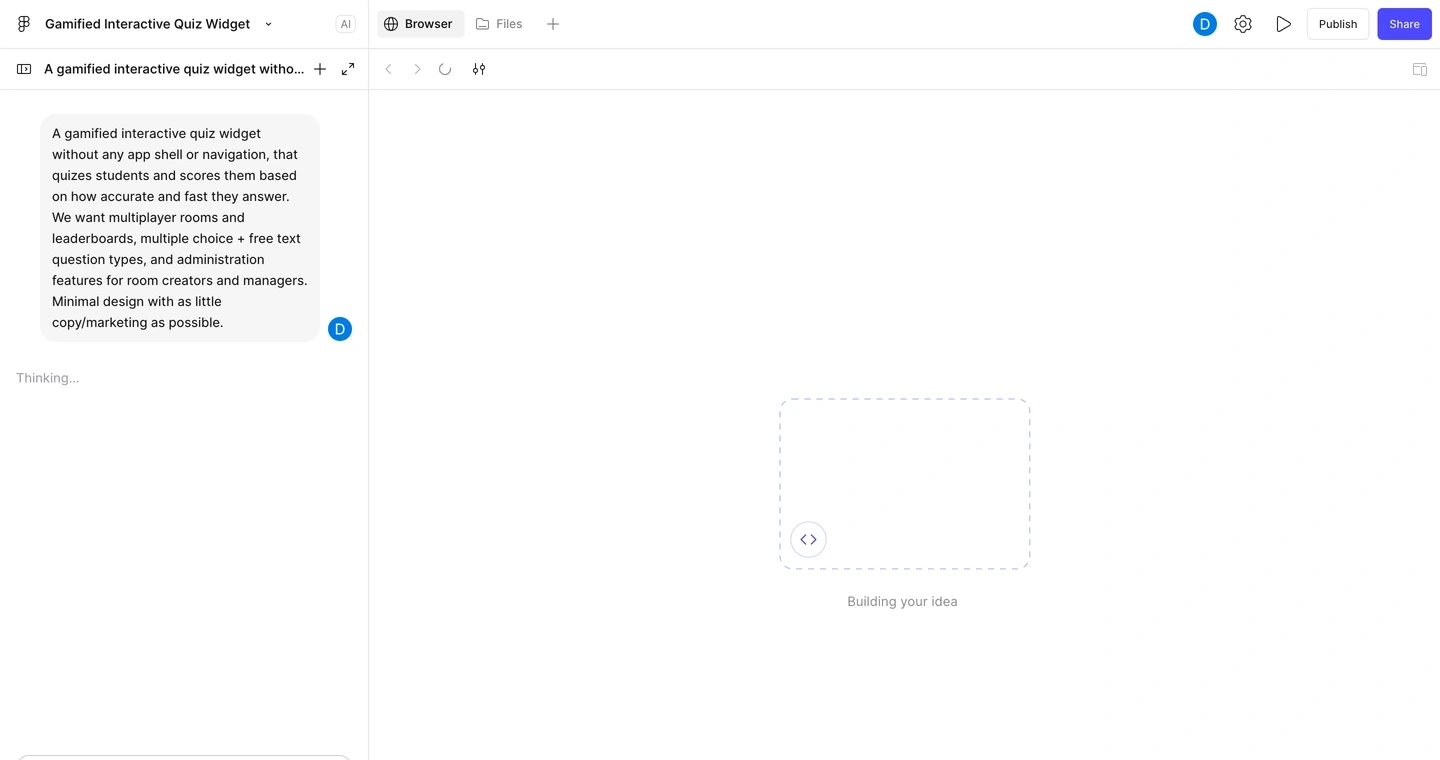
11. Wait while Make works. Make explains what it is doing in the chat panel as it reads the starter project, chooses a layout and writes the code. In this run it took about 1 minute 21 seconds, and yours may differ. Keep the tab open.
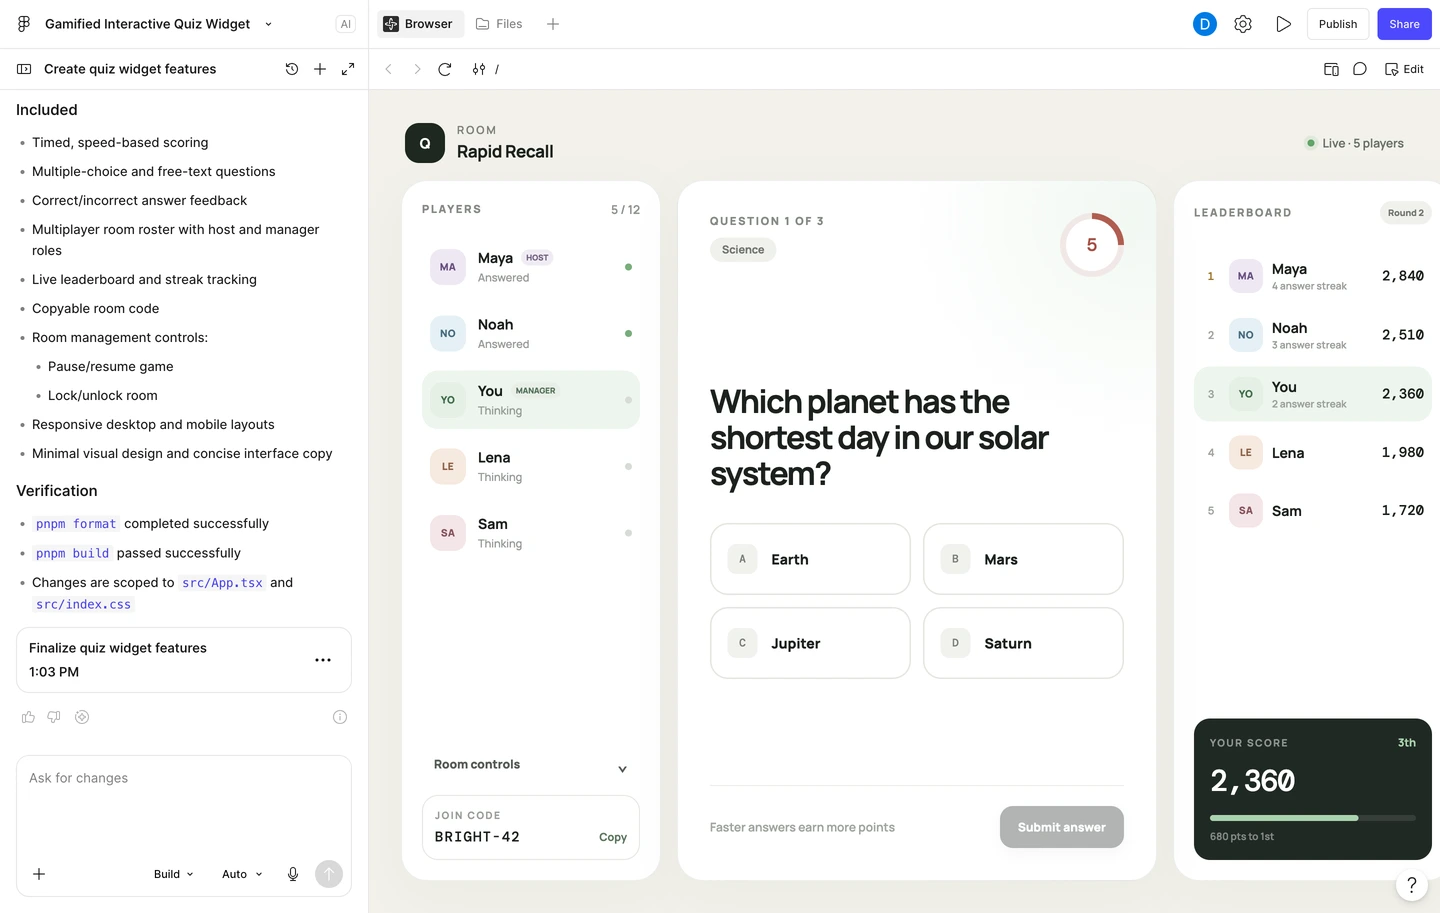
12. Meet your first app. When 'Worked for…' appears, the app is live in the preview. This is a first draft: the players and scores are sample content, and small slips such as '3th' on the score card are normal. You refine it in the next part.
Part 4: Refine by pointing
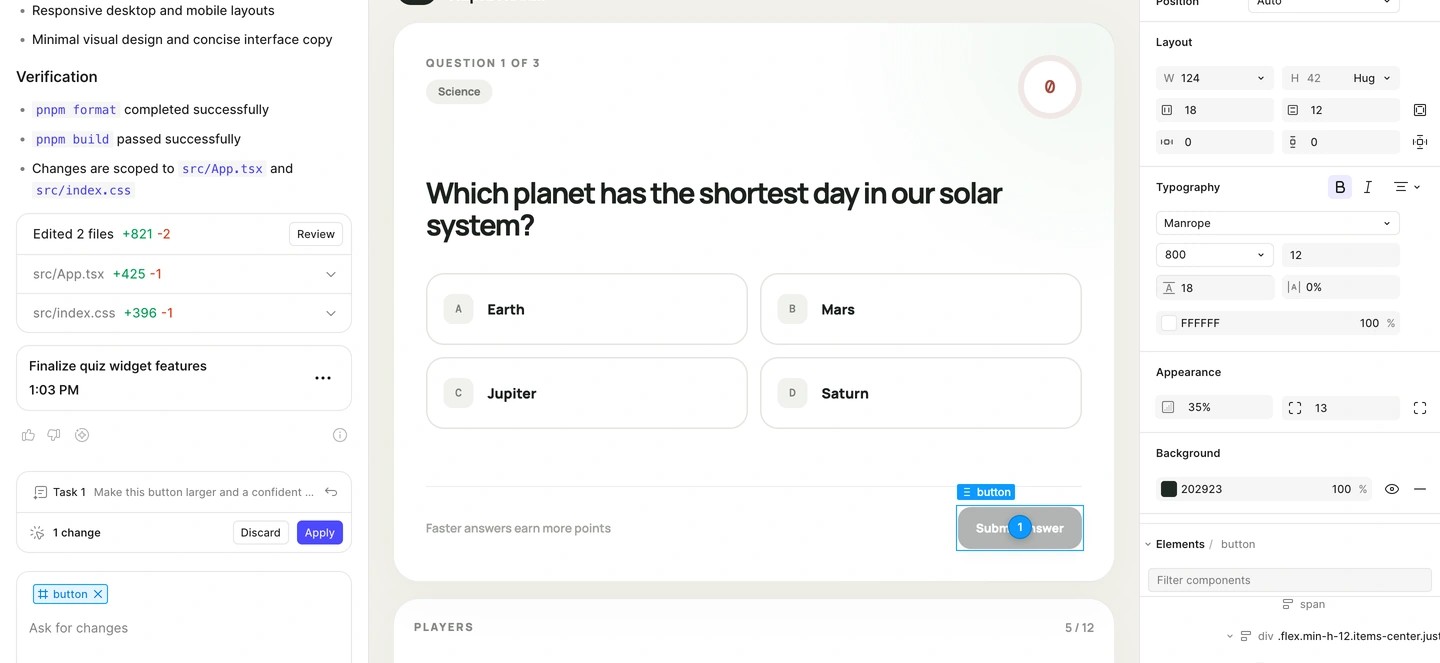
The first draft has a problem: the 'Submit answer' button looks faded and is easy to miss. Describing it in words ('the grey button at the bottom right of the question card') is clumsy. Make's Edit mode lets you point at the exact element instead.
13. Choose Edit above the preview. Select 'Edit' at the top right of the preview.
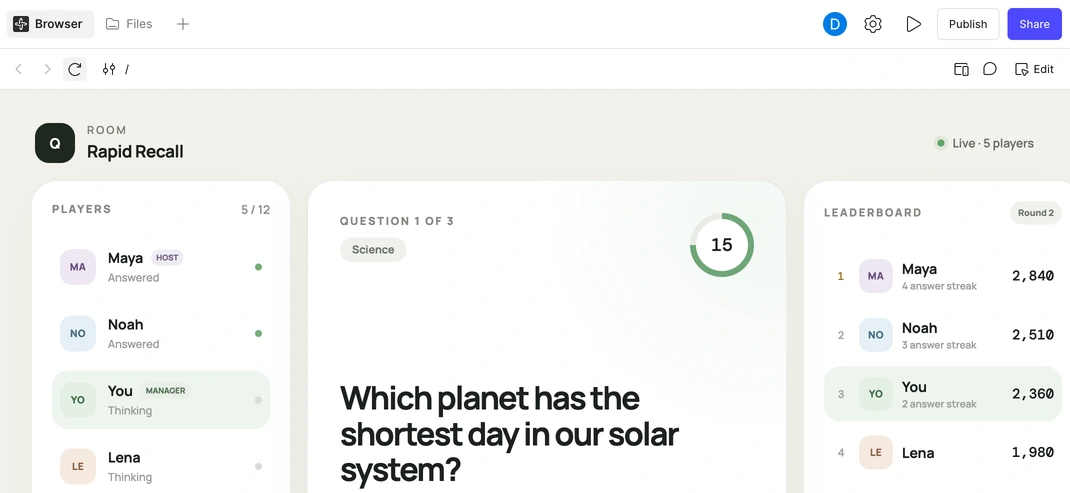
14. Pick Annotate for agent. A small toolbar appears at the bottom of the preview. Choose the third tool, 'Annotate for agent'.
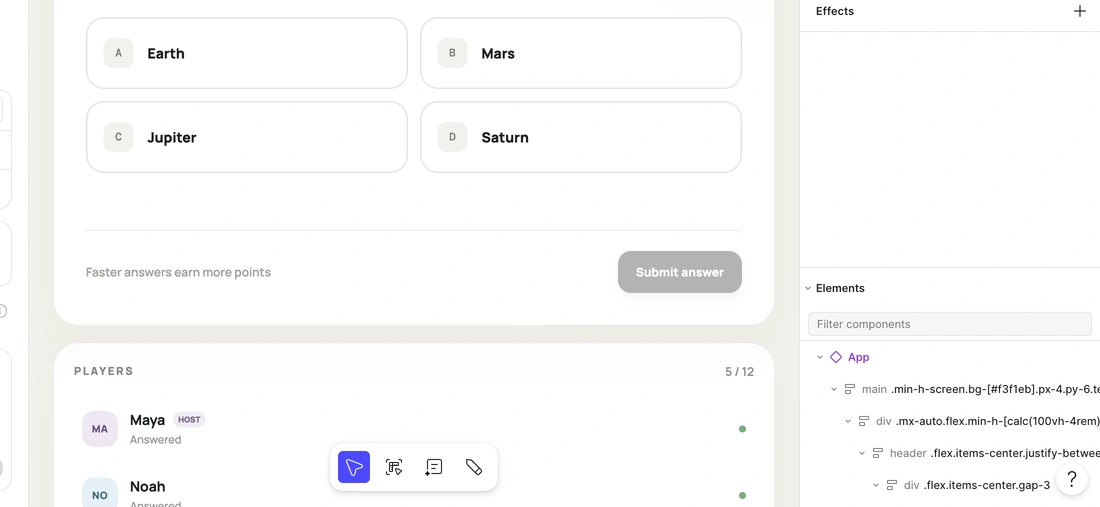
15. Click the element you mean. Click the 'Submit answer' button. Make selects exactly that element, shows its properties such as size, font and colour, and attaches it to your chat message with a numbered pin.
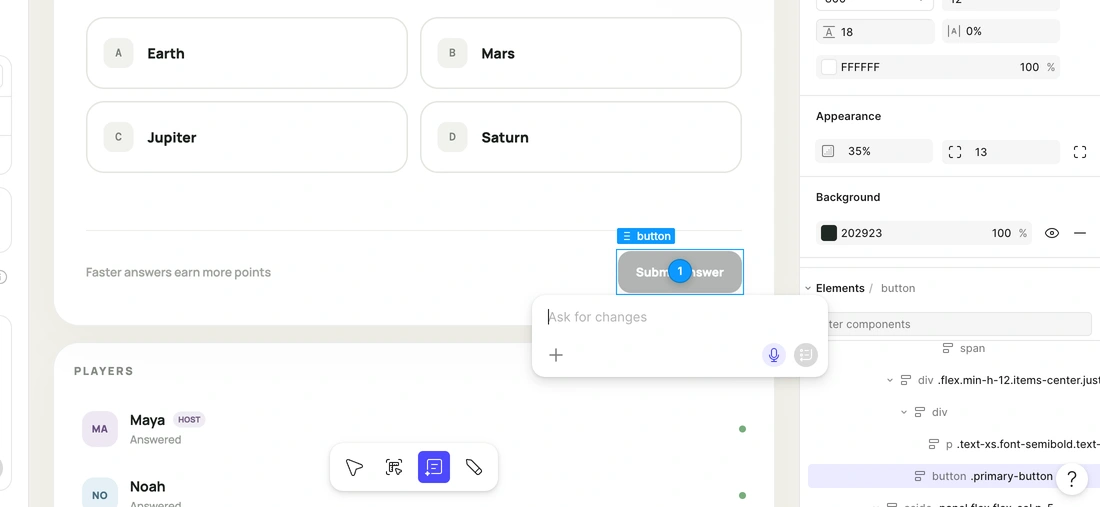
16. Write the change right there. In the note box beside the element, say what you want in one sentence, for example: 'Make this button larger and a confident green so it clearly looks clickable.' You do not need any position words, because the pin already identifies the element. Then choose the round add-annotation button.
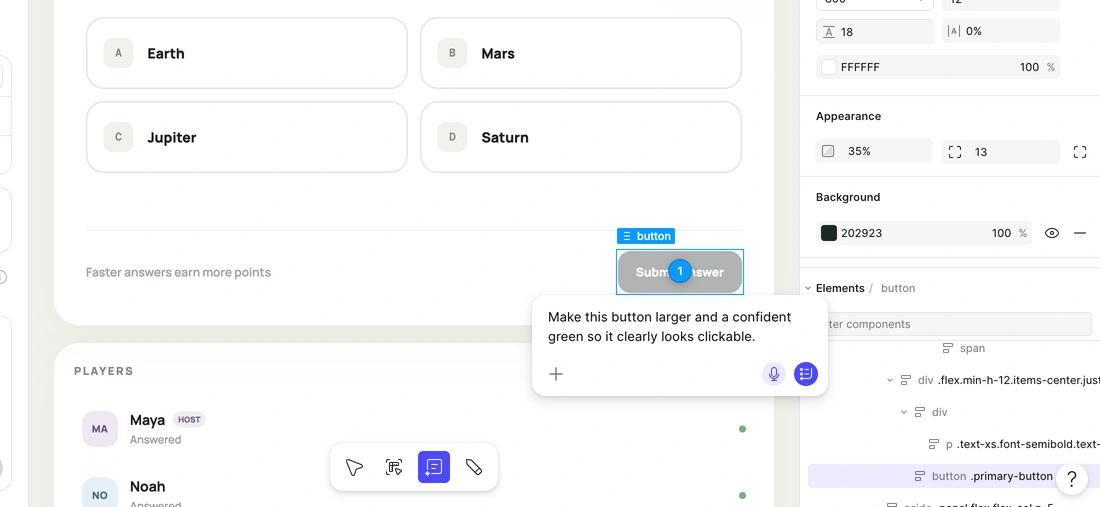
17. Apply the task. The note appears in the chat as 'Task 1' with the button attached. Choose 'Apply' to send it to Make, or 'Discard' to throw it away.
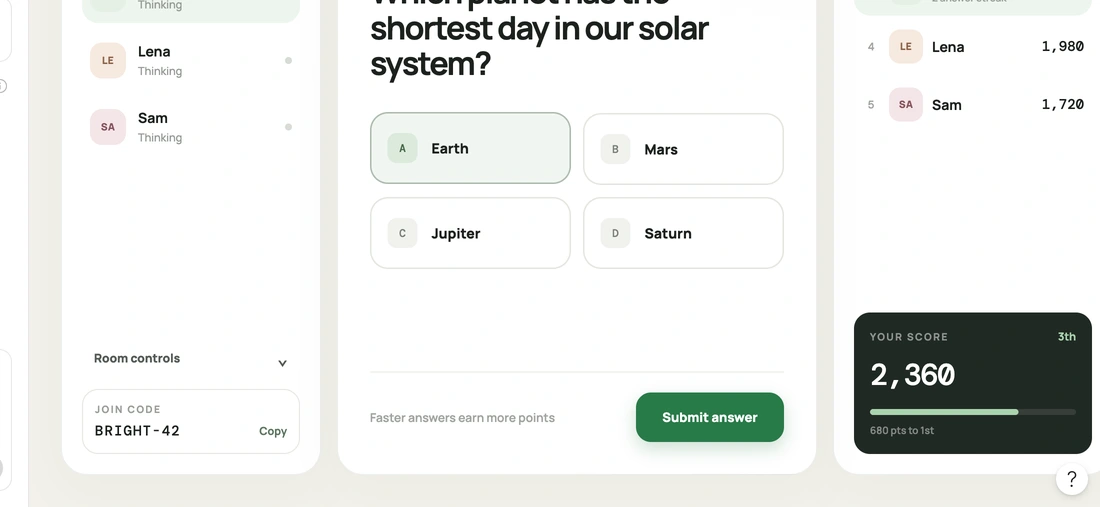
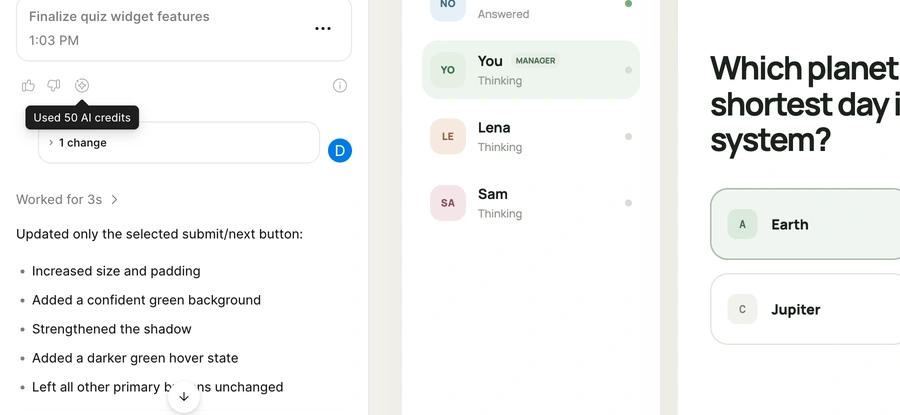
18. See just that element change. Make finished in about 3 seconds. The button is now larger and green, and fully lit once an answer is chosen. Make's summary lists what it changed and says it left all other primary buttons unchanged, which is how you confirm the edit stayed within the element you pointed at.
Part 5: Check your AI credits
Every Make prompt uses AI credits. On the Education plan, credits belong to you, reset monthly, and do not roll over.
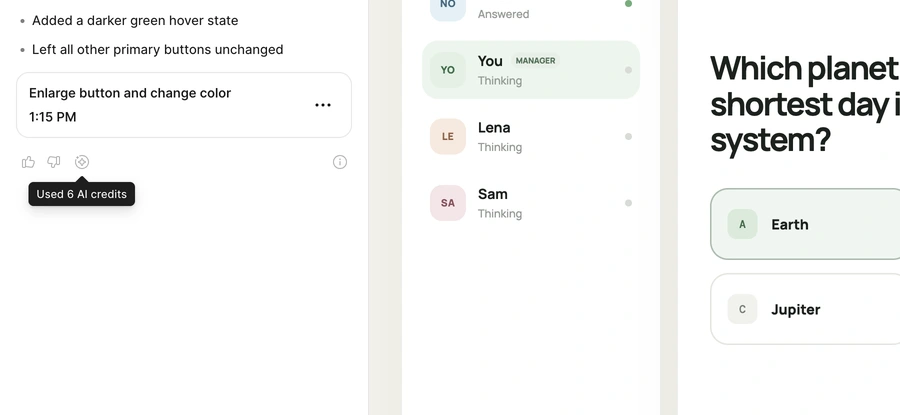
19. See what each prompt cost. Under each Make response, hover the third small icon, 'View AI credit usage'. In this run the first prompt that built the whole quiz used 50 credits, and the pointed edit used 6. Cost depends on the task and model, so treat these as one example and not a rule.
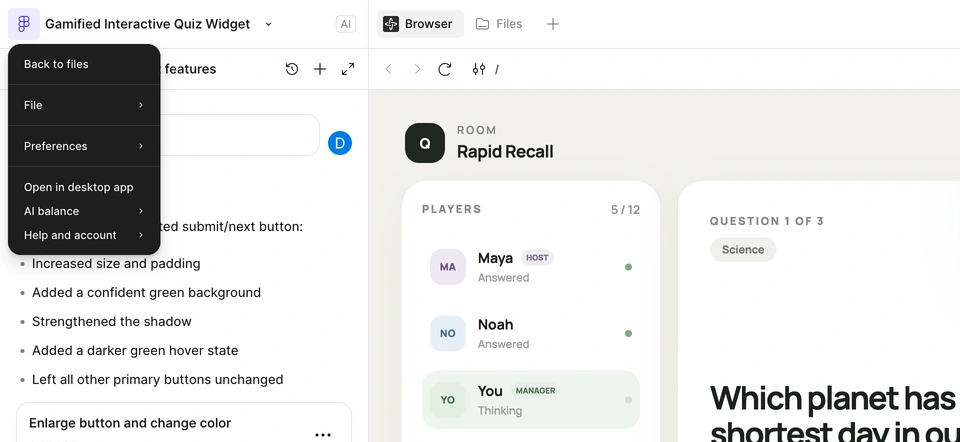
20. Check your balance. Select the Figma logo at the top left of any file to open the Main menu, then choose 'AI balance'. It shows how many credits are left, your monthly allowance and your reset date.
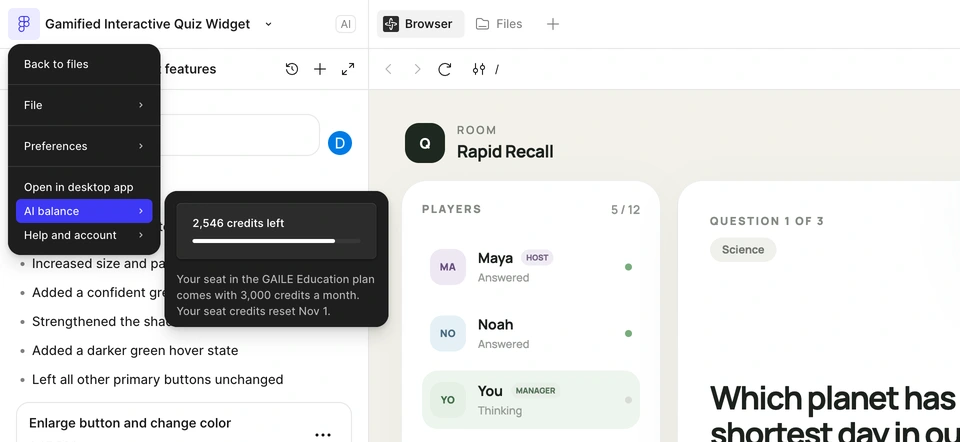
In this account it read 2,546 credits left of 3,000 a month, resetting on 1 November. Check your balance before big experiments, because AI features pause when credits run out until they reset.
Part 6: Make a presentation with Figma Slides AI
Figma Slides is a separate file type in the same account. Here is a quick tour of starting from a designed template and then using AI for wording and speaker notes.
21. Create a Slides file. In the file browser, choose 'Slides' at the top right.
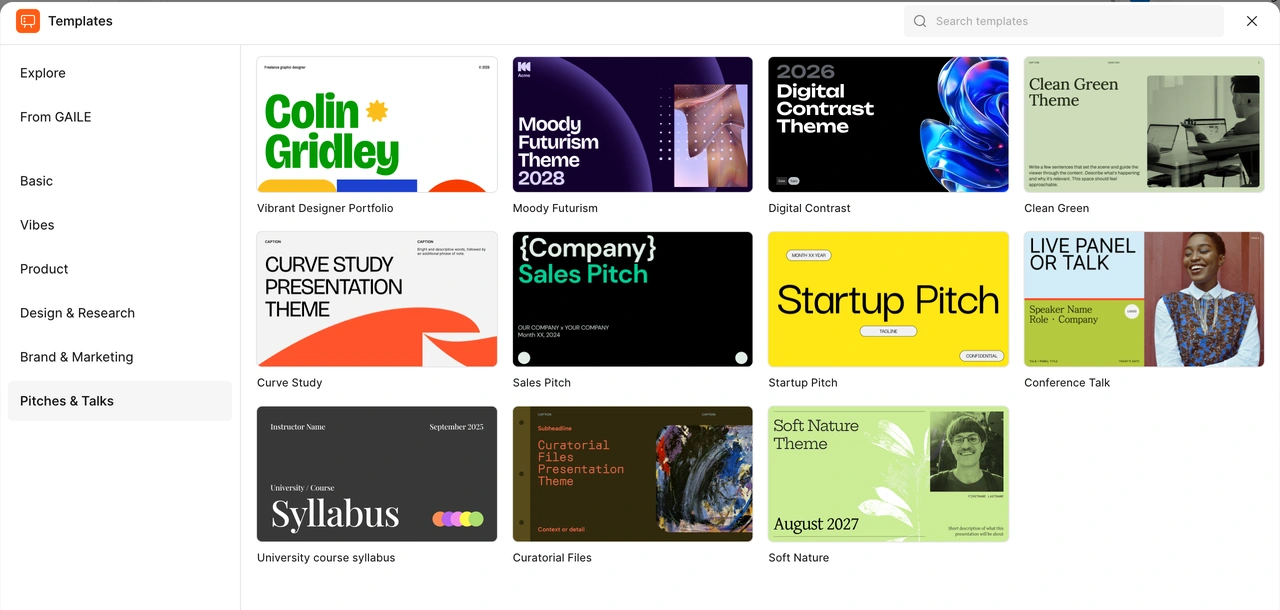
22. Start from a designed template. A new Slides file opens the template picker. The 'Pitches & Talks' group has bold, professionally designed decks, and 'Startup Pitch' was used here. A good template does most of the visual work so AI can focus on the words. Choose a template, then select 'Use template'.
23. Put in your own words. Click text twice to edit it. Here the title became 'Quiz Room', the date was filled in, and a deliberately rough tagline was typed: 'answer fast, win big'. Rough is fine, because AI can polish it next.
24. Select text, then Adjust tone. With the tagline selected, choose the sparkle button beside 'Text'. The grid sets how professional or casual, and how concise or expanded, the wording should be. There are also presets such as Executive, Technical, Basic and Educational, or you can write your own instruction.
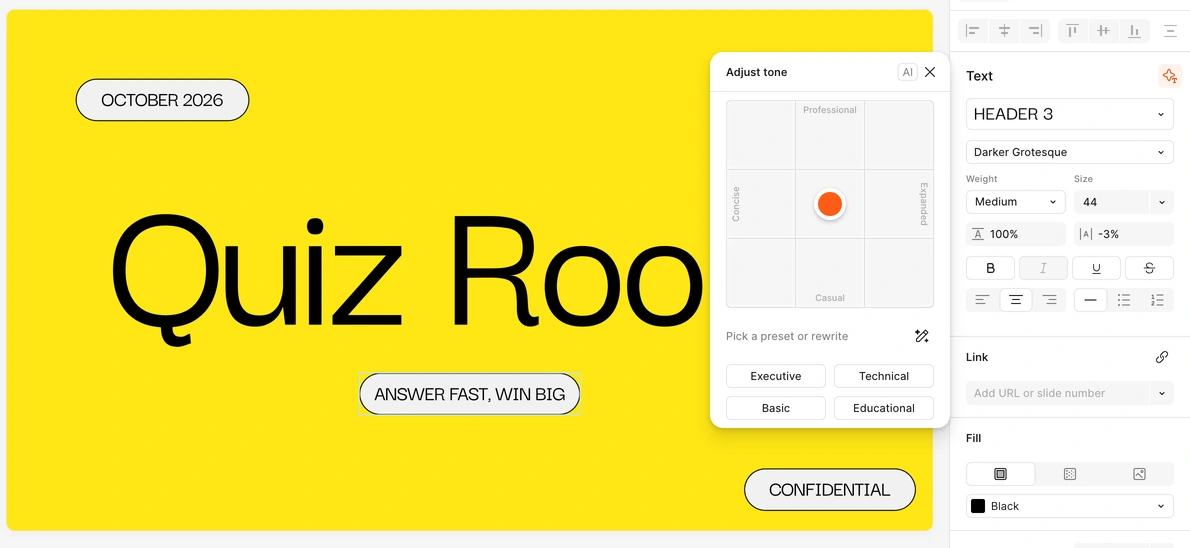
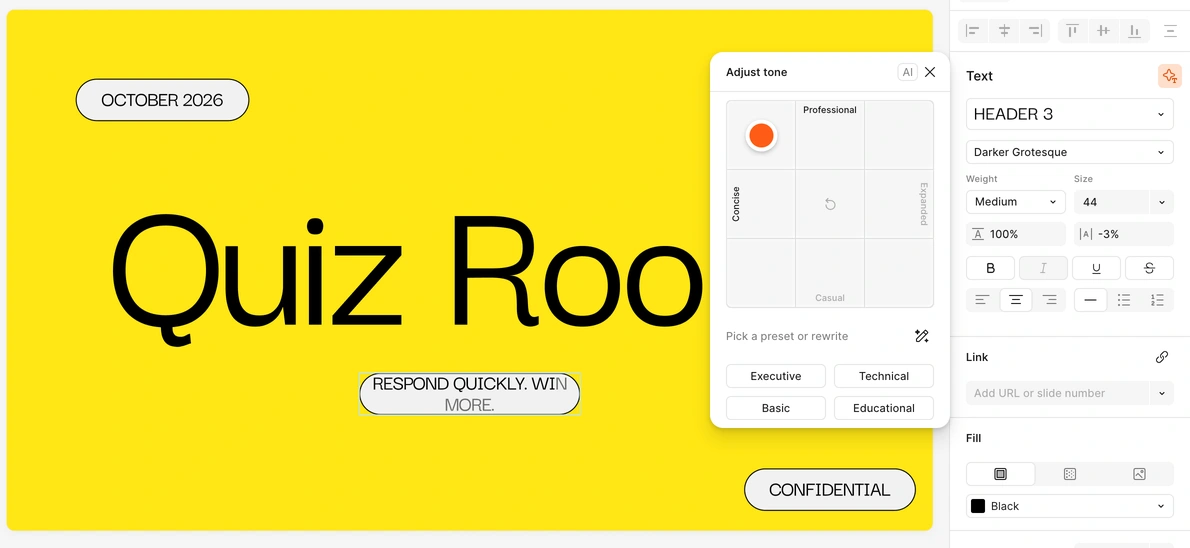
25. Review the AI rewrite. Professional and concise turned 'answer fast, win big' into 'Respond quickly. Win more.' A 'Done!' message offers 'Try again'. Check that the result still fits its box, because this one wrapped onto two lines.
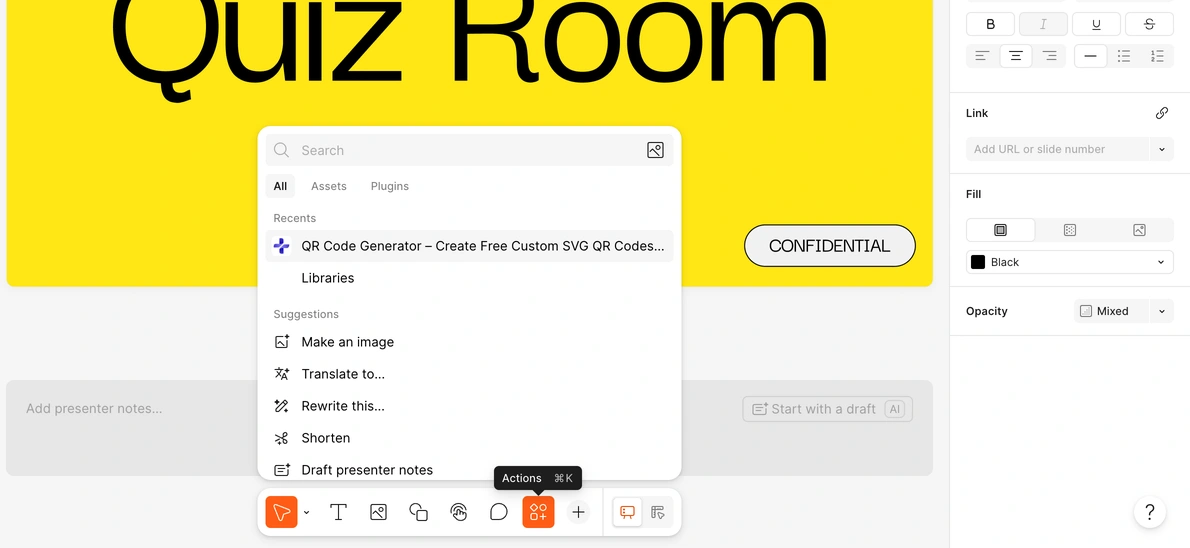
26. Open Actions for more AI tools. Press Command-K, or choose 'Actions' in the bottom toolbar. Its AI tools include Make an image, Translate, Rewrite, Shorten and Draft presenter notes.
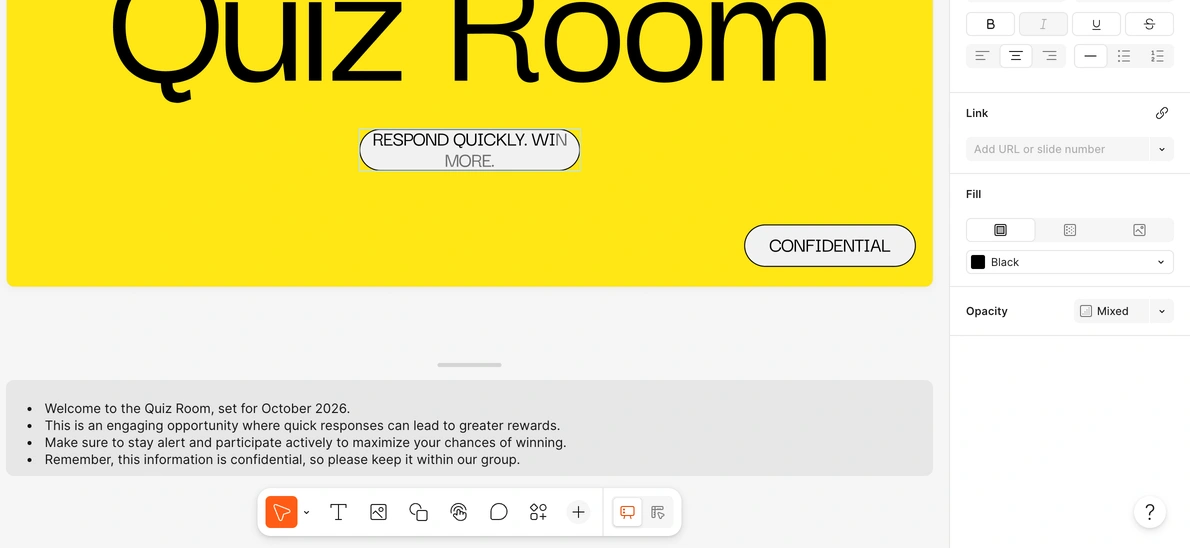
27. Draft your speaker notes. Choose 'Draft presenter notes'. Slides wrote four bullet points in seconds. It works from what is on the slide, so it even repeated the template's 'confidential' badge. Always read and edit AI drafts before you present.
💡Pro tip: point instead of describe. Whenever you catch yourself writing 'the button in the top right', stop and use Edit mode to select it. It is faster, more precise and cheaper.